
 These strawberries (Eversweet) are a big hit with any kid who comes over to my house. They are an everbearing variety that I picked up at OSH for $1 on a whim. These 10 plants have produced over 3 lbs so far this year. Although the number is probably somewhat higher in actuality, due to the aforementioned kids :) I'm using the upside-down strawberry crates and wooden/concrete blocks as a place to prop the developing berries upon. Since we've had so much rain this spring, I didn't want them to rot in all the water. I thought about planting them on "hills", like the commercial growers do, but I wasn't sure how to make that happen exactly in a raised bed. This method seems to be working ok. I just prop a couple of berries up when I walk by.
 This bed is currently holding beans at the very back, then tomatoes, then tomatillos, then basil, amaranth (from Michelle, for greens), and one Greek oregano plant at the front. Again, I'm using the plastic strawberry crates to keep the birds from damaging young seedlings. The other crop which I squeezed in is carrots - you can see them in a straight row down the center. They were planted like this in February, since I knew that tomatoes and tomatillos would be going in on the edges later in the spring. It's worked out well planting them this way because they will be ready to pull before the tomatoes shade them out.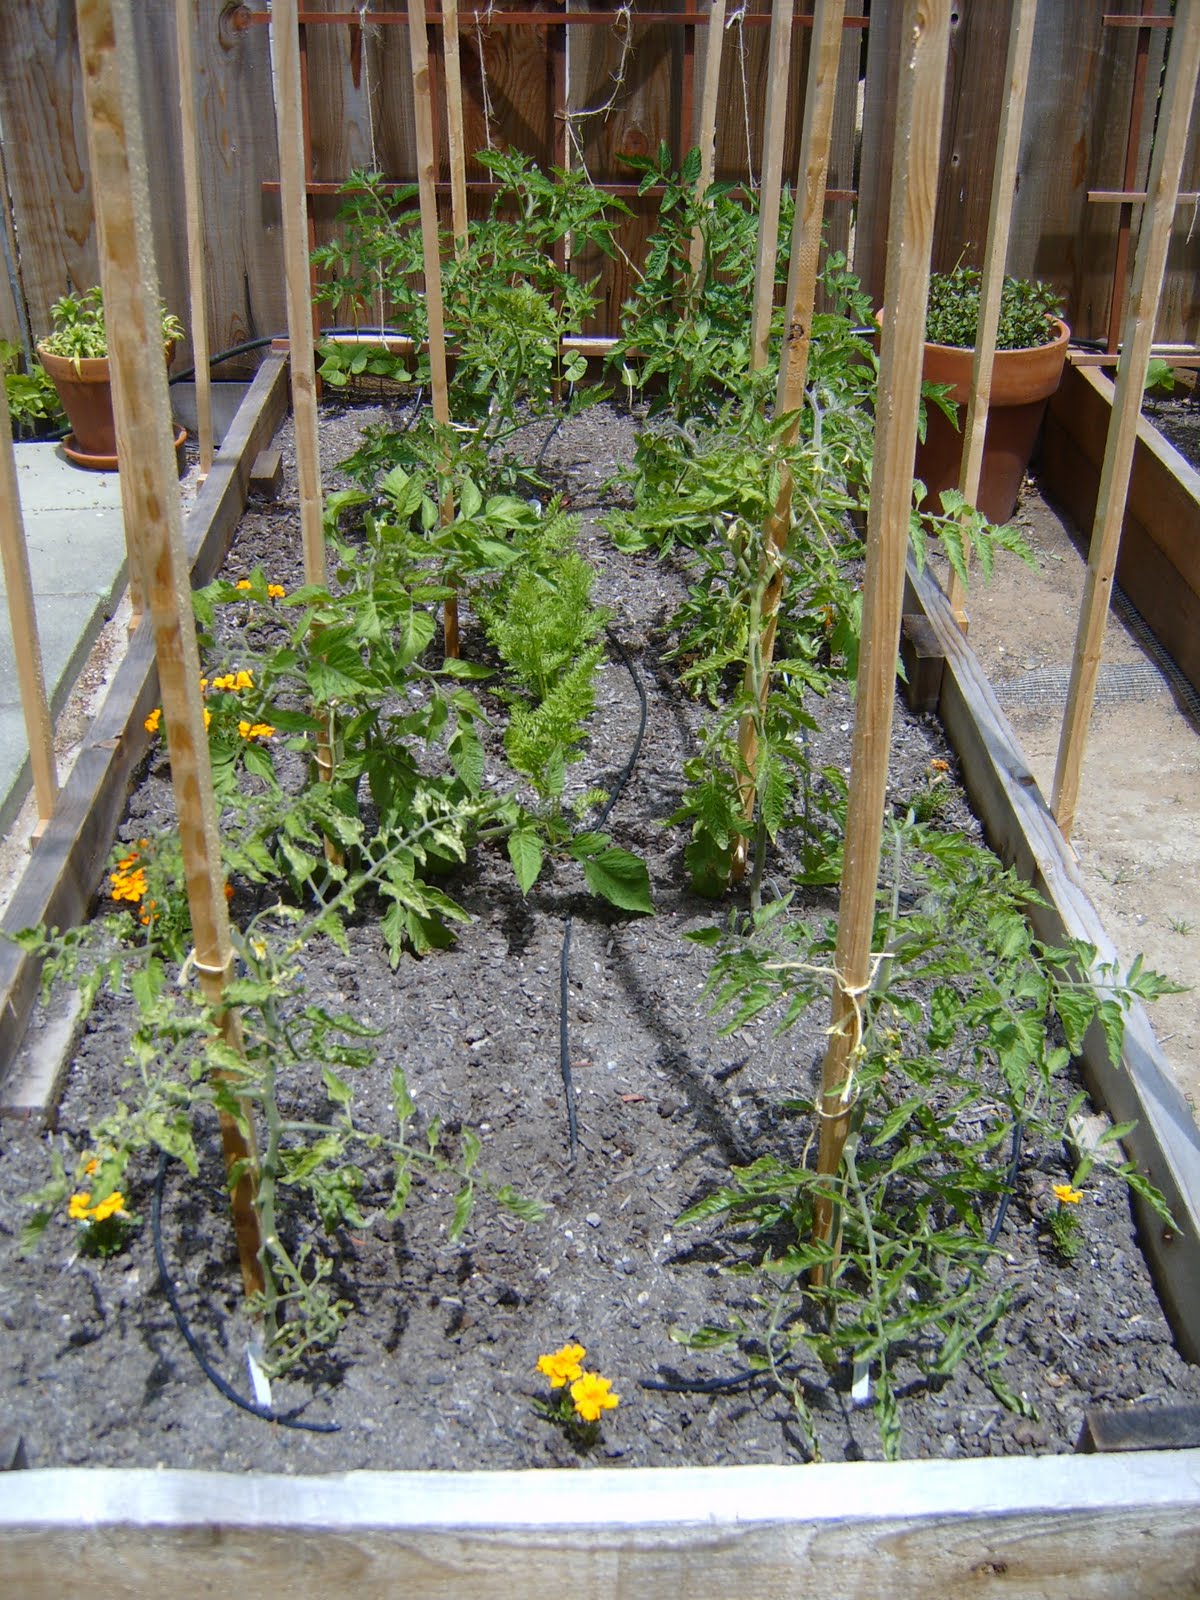
This bed has (again) beans in the back, then 8 more tomatoes, with a few carrots in the center. I'm also using marigolds around the tomatoes because they are supposed to ward off aphids. This is the second year in a row that I have done this. And although I see a few aphids, they haven't been a problem for me. Maybe it's working?!
Last year I picked the first ripe tomato on July 4. I doubt that it will be so early this year, since we've had such a cool, wet spring. But that's ok, the plants are growing well and we'll have tomatoes at some point this summer. I'm still eating dried tomatoes from last year, so we are definitely not destitute and tomato-less, yet!


